 by UNI-Prep Institute · Updated November. 17, 2026
Planning a first ESL lesson is different from planning any other class, even for teachers with solid classroom experience. The students are learning in a second language, their levels may vary, and every minute has to serve a clear purpose.
A well-built lesson answers a few practical questions before the class begins: what students should be able to do by the end, how new language will be introduced, and how the hour will move from teacher-led explanation to real student conversation. It also leaves room for the unexpected, such as an activity that finishes early or a topic that needs more time.
This guide builds a 60-minute lesson around the widely used PPP framework, stage by stage.
Get to Know Your Students Before Choosing a Game or Worksheet
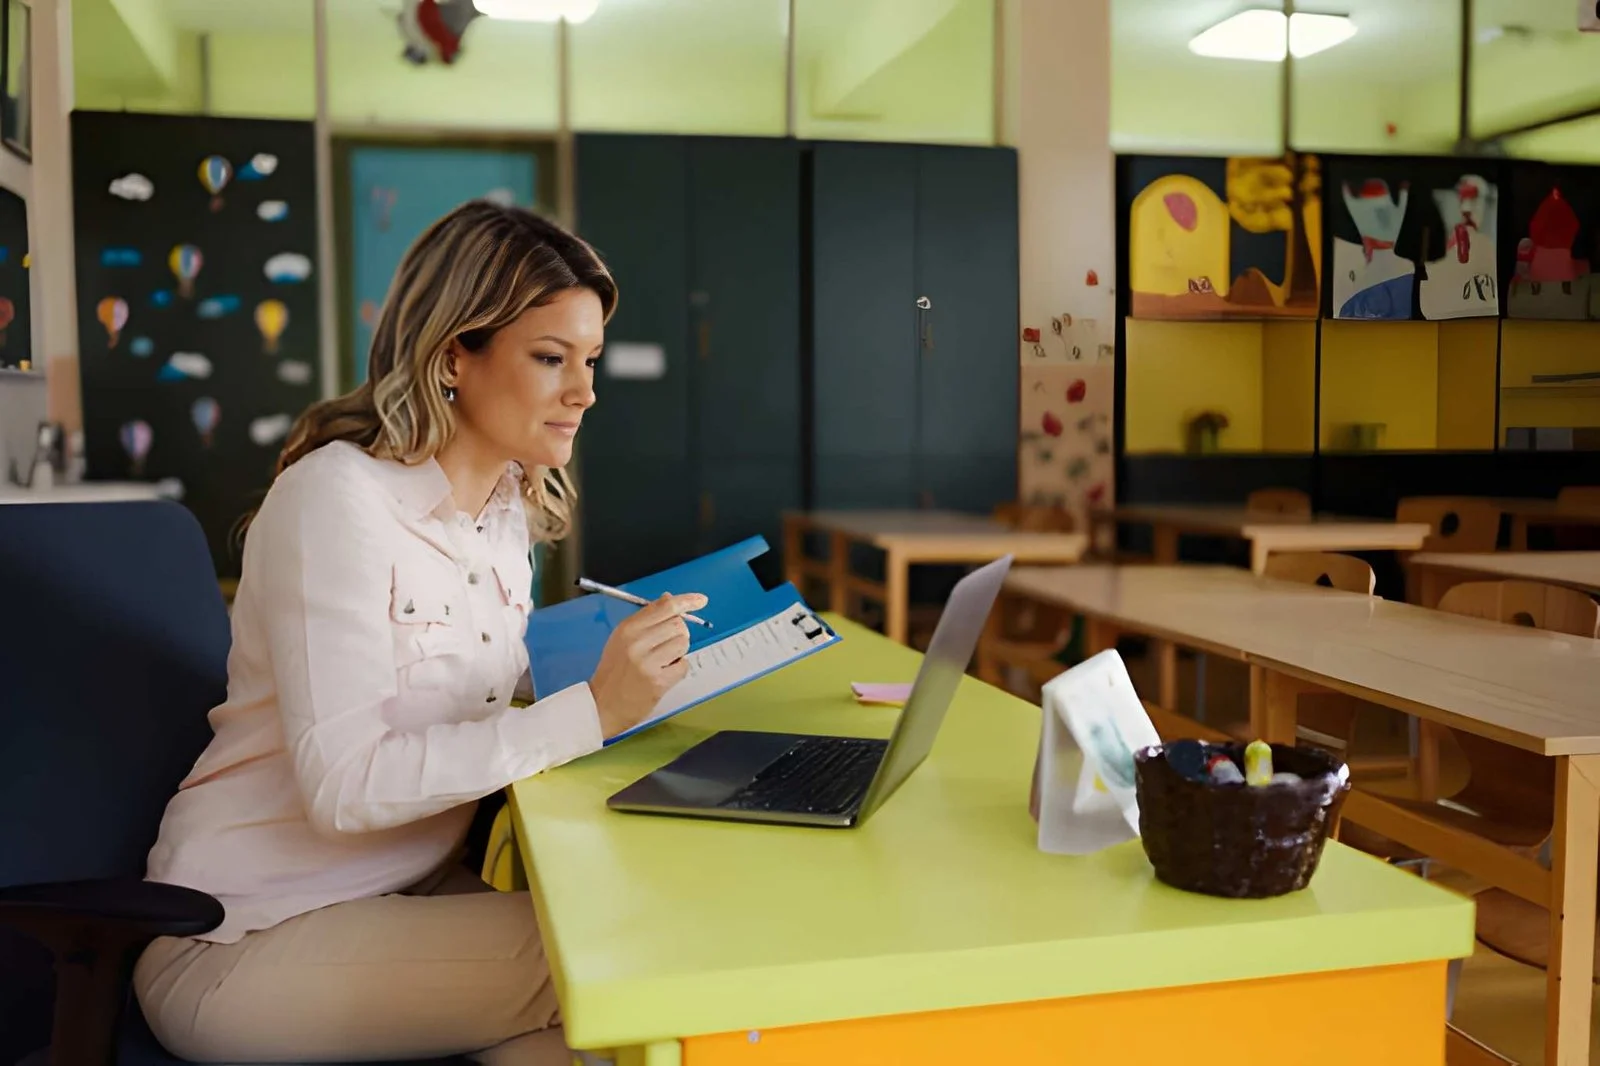
Before selecting a game or worksheet, ask yourself a few questions; their answers will help you create your lesson plan.
- What age group are your students? Are they children, teenagers, or adults?
- Are they beginner, intermediate, or advanced level learners?
- Find out what they need in learning English. Is it for a job, an exam, travel, or just a general interest?
- How many students will you have, and how much time will you have?
- What will you be able to use in class: a whiteboard, a computer (projector), printed worksheets, or Zoom if the class is online?
According to the British Council's lesson-plan template, place that information near the beginning under "Class Profile." The lesson plan proceeds to lesson goals, teaching procedure and timing, lesson problems and solutions, and lists of materials. If you get all the details about the students, it is best to write them down.
If you don't know who your students will be beforehand, ask the school or coordinator. If that is impossible, use the first lesson to have at least a rough idea of their level.
Structure of a 60-Minute Class
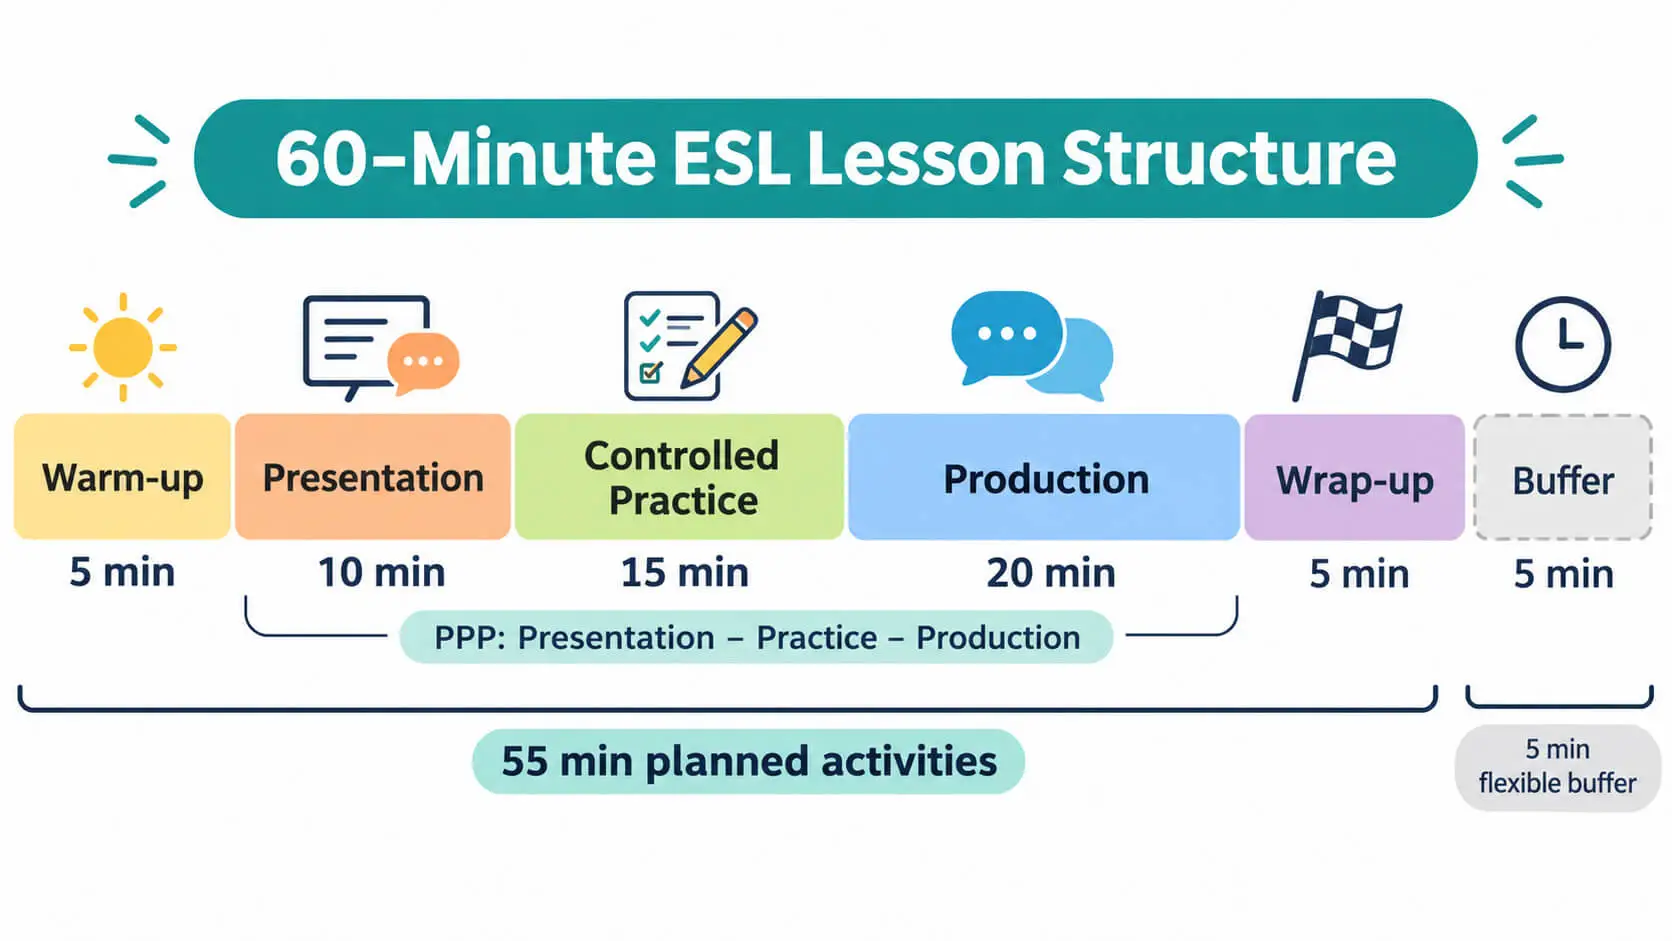
Define a clear objective for the class as a starting point. The time-scheduled activities below take about 55 minutes, with the remaining five minutes reserved as a buffer:
You decide on a lesson aim and objectives.
-
Warm-up (5 minutes): Use the start of the lesson for quick tasks and gradually switch students' minds to English.
-
Presentation (10 minutes): Bring new words and sentences, their meanings, structure, and pronunciation to your students.
-
Controlled Practice (15 minutes): Students work on various tasks to learn the language with your help to identify language errors and to give feedback.
-
Production (20 minutes): Students can use the language freely by talking, sharing opinions, and describing situations with you, while you listen and guide.
-
Wrap-up (5 minutes): Give students a quick recap of the lesson, acknowledge them personally, and assign homework.
Steps 3 to 5 follow the PPP learning framework: Presentation-Practice-Production, where you introduce, give students a chance to practice, and finally encourage them to speak freely. Setting the lesson objective, doing the introduction, and the closing are just as important as the three steps of PPP.
That five-minute buffer, however, gives you enough flexibility to accommodate unexpected delays so you won't have to rush to end the lesson.
Set One Clear Objective
Your objective determines the direction for your lesson. Before selecting a game or worksheet, decide what students should be able to do by the end of the class.
The British Council lesson-planning guide also emphasises this: Every stage of the lesson is a step towards the goal.
ESL teachers often use the format SWBAT when writing objectives. It stands for 'Students Will Be Able To…'. The subject is the students, not the teacher.
A well-written objective could be written like:
At the end of the lesson, SWBAT use past simple verbs to describe what they did yesterday.
SWBAT name and ask for five common fruits in English.
SWBAT ask for directions using a question: "Where is the…".
After writing your objective, ask yourself only three questions:
What will I see or hear at the end of class that shows students can do it?
Is it actually achievable for the students in such time?
Does it fit what students need at this point?
You should not use verbs such as "understand", "learn", and "get the idea" in your objective. No one can assess mental understanding from the outside. Use verbs you can observe or hear: explain, ask, answer, speak, write, match, identify, or role-play.
Warm-up (5 Minutes)
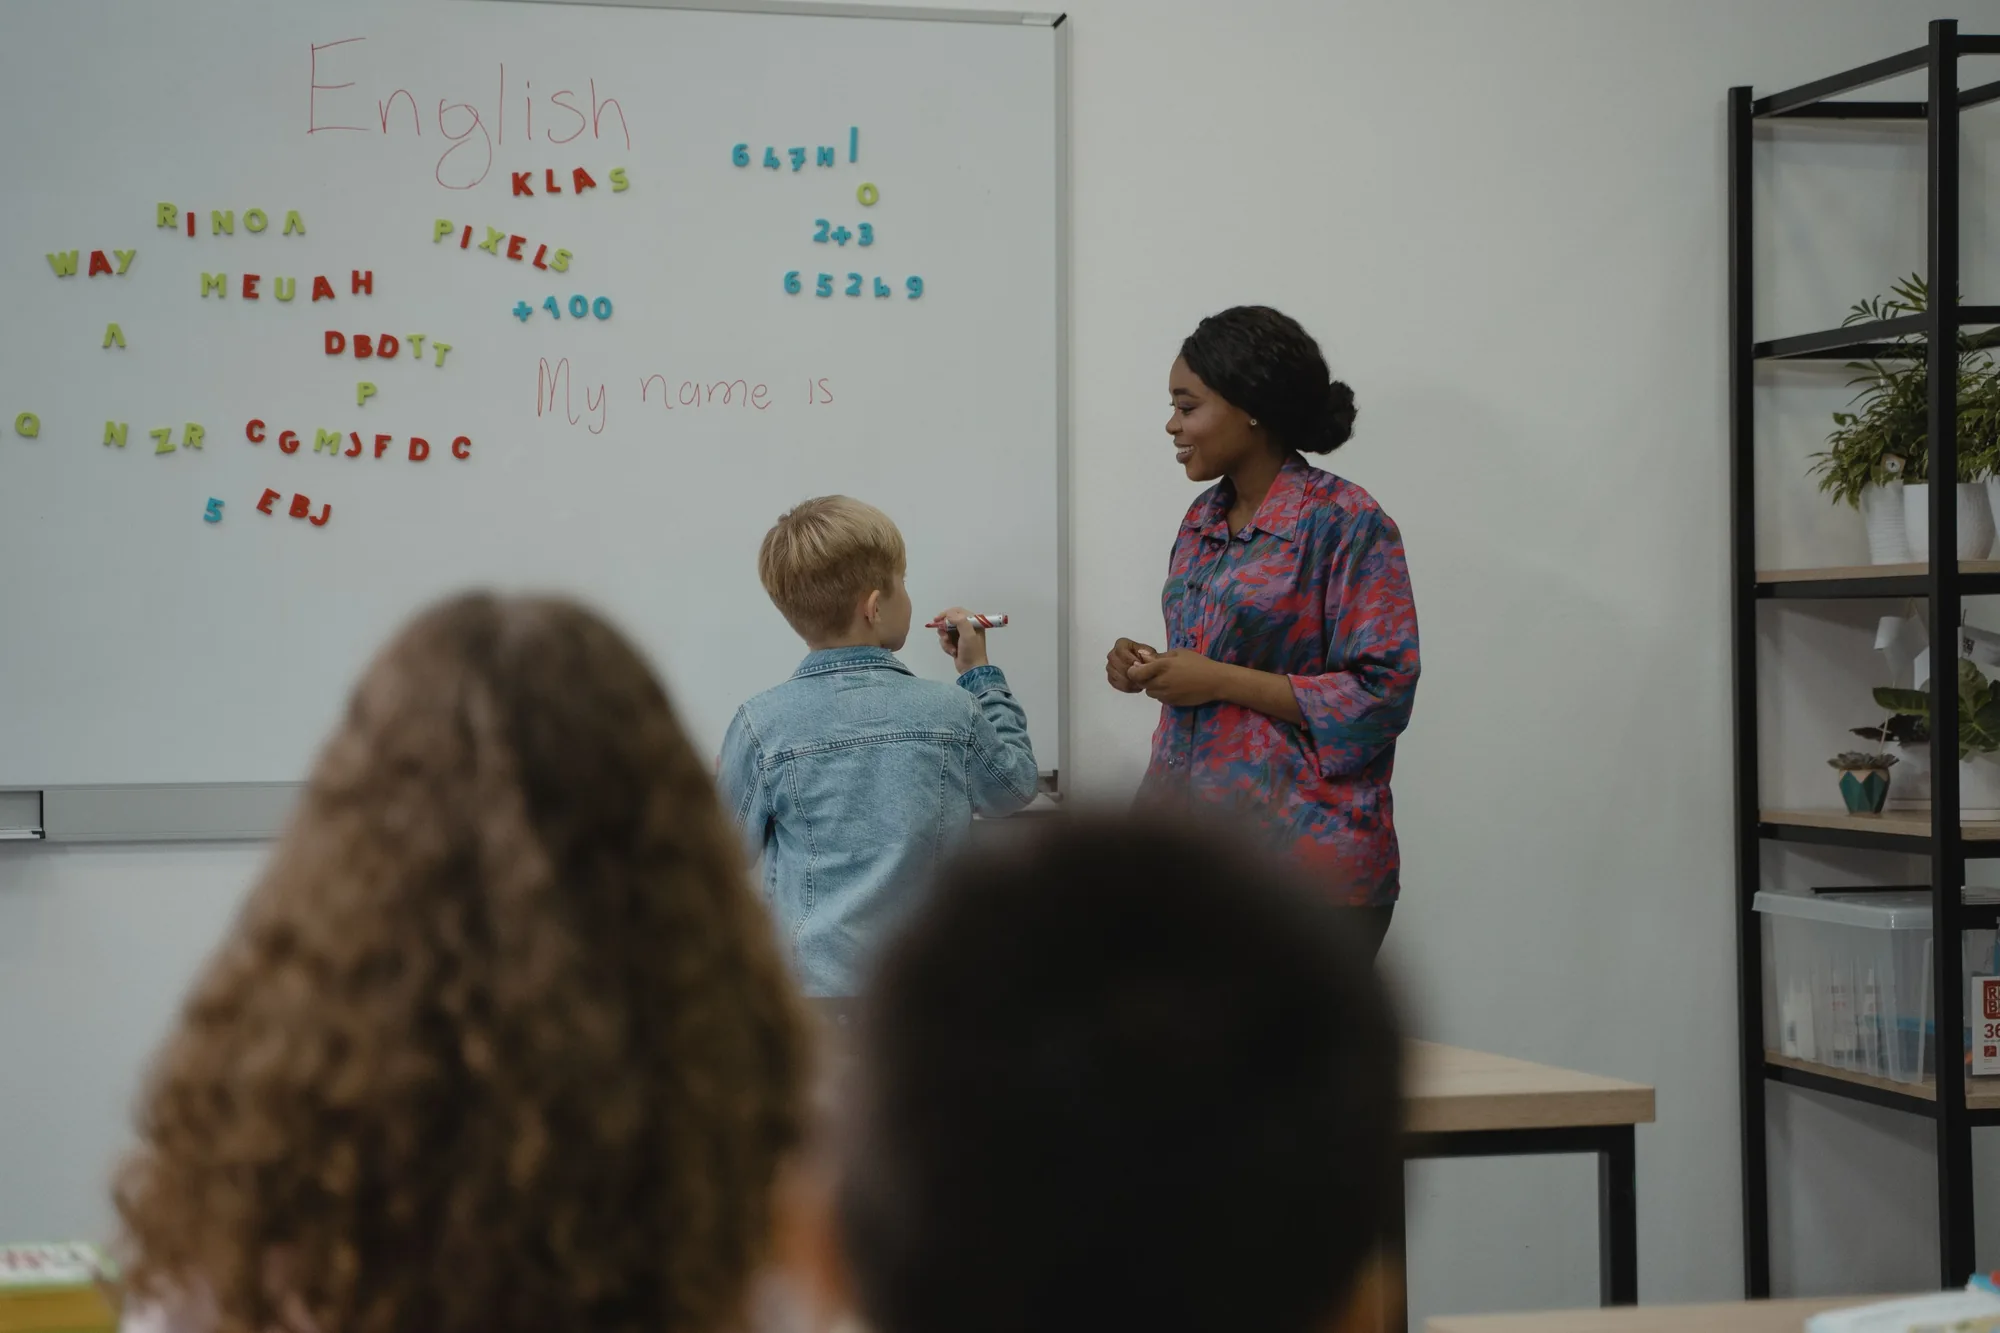
Students can come in after a long day of work and/or school in their native tongue. A warm-up brings them back to English and helps ease their fears of speaking a new language.
If this is a new group, have an icebreaker or other activity to engage everyone. For example:
-
Two Truths and a Lie: Make three statements that are two true and one false about yourself. Students guess which one is false. Then they create their own sentences.
Word Chain: Speak a word. The subsequent player begins with the last letter of the word.
-
Vocabulary Ball-Toss: Select a theme (e.g., food). Throw the ball to another person, and they say a word related to it.
If students already know each other, you don't need an icebreaker, but a brief activity can still help them engage.
-
Hot Seat: One student has their back to the board. Write a word on the board and ask the other students to describe it without using the word. The student in the hot seat guesses.
-
Sentence Scramble: Write 2 or 3 sentences from the previous lesson on the board with the words in the wrong order. Students may start moving them around as soon as they enter the room.
What not to do during the warm-up:
-
Wait until after the error has been made to correct it. The purpose in this stage is to get students talking, not to test their grammar.
This warm-up should take no more than 5 minutes, so don't let the game run too long.
-
Don’t leave out shy students or those at the back of the class. Make sure everyone gets a chance to participate.
If you need ideas, read: 10 Effective ESL Speaking Activities for Shy Students .
Link warm-up to the topic of the day if possible. For a lesson on ordering food, use food vocabulary for the ball toss activity.
A word of advice for the first day: It's not a great way to start with "Here are the rules." Instead, ask students what a good English class is like. Record their suggestions on the board as class rules that they have all agreed to. Students love to follow the rules they helped establish.
Presentation: Introduction to New Language (10 minutes)
This is where students first come across new words or a new structure. You want to communicate three things, which can be encapsulated as MFP:
- Meaning: What does the language mean, and when and where is it used?
- Form: What is the structure of the words? For instance: Subject + would like + noun.
- Pronunciation: Note stress, intonation, and contractions. For example, people often say “I'd like” in regular speech instead of “I would like.”
Don't place a rule or sentence pattern on the board immediately; begin with a short story or a picture. For instance: "Yesterday, I went to a café, and I looked at the menu, and I said to the person who served us, 'I would like a cup of tea, please'.” You can clarify the example with pictures, flashcards, or real objects. You can create a timeline on the board with past, present, and future to illustrate time.
Next, record the form or structure on the board. Write the new words on one side and the structure in the middle. Use a variety of colours on the structure if coloured markers are available.

Use CCQs rather than asking "Do you understand?" When teachers ask "Do you understand?," almost everyone nods, or says yes or no. Instead, use Concept Checking Questions (CCQs): brief, simple questions answered with a yes/no or by choosing one of two answers. It is one of the first techniques that teachers will learn in training courses like TESOL and CELTA.
For instance, Board says: I would like some tea.
Does the speaker want tea? - Yes.
Has the speaker got the tea now? - No.
Is it polite or impolite? - Polite.
How to write CCQs:
Write before class. It's common to struggle to think of good questions while teaching.
Ensure questions test the meaning of the language.
Use language that your students can understand in the questions.
Practice the language with your students. Have the whole class repeat the sentence after you (choral drilling). This helps students who are shy about speaking in front of others because they don't want to get it wrong. Then have two or three students repeat it by themselves.
Keep your talking part brief. At this stage, the teacher should talk more. Still, use short sentences, speak slowly, and pronounce words clearly. In the last minute or two, give students a chance to record the examples on the board in their notebooks.
Controlled Practice: Practising in a Safe Environment (15 minutes)
Now students use the language they have just acquired, but within the limited framework you set. Here, the emphasis is on accuracy. Think of it as holding the back of a bicycle while someone learns to ride, but you don't want them to develop bad habits.
Types of activities:
Gap-fill: Yesterday I _____ to the market.
Word order: like / tea / a / cup / of / I / would
Matching: Match questions and answers, words and pictures.
Multiple choice: Select the correct sentence.
-
Chained dialogue: Pose a question to the student who is next to you. They respond and then turn and ask the same question to the person next to them. This is how the question goes around the class.
At this stage, correct errors on the spot (softly) so the wrong form doesn't become the norm.
There are several ways:
Peer correction: "Did they say that right?" (ask another student) "What should it be?"
-
Board Correction: If several students make the same mistake, write it on the board and discuss the correction with the class.
-
Allow the student to identify the error. If you hear "He go to school", ask, "Who is the subject?" "Does the verb change?"
For more ways to correct errors without discouraging students, read: 14 Effective Ways to Correct Errors Without Discouraging Students.
Move around the desks. Look at the work and take some time to assist anyone who is having trouble. Provide directions prior to students starting. A new teacher may have a good lesson plan, but an activity can go awry if instructions are unclear.
There are three habits which will make a huge difference:
-
Use simple language. Do not say, "Open your book and read the paragraph about...", but instead say, "Open your book. Page 24. Read paragraph 1".
Give one command at a time instead of multiple commands.
-
Show how to do it, then ask ICQs (Instruction Checking Questions): "Write or speak? How many minutes is that? Do you work on your own or as a team?"
CCQs test the meaning of the language; ICQs test what students are to do.
You might be required to teach a mixed-ability class. Some students grasp things faster, and some students need more time. Include some simple questions at the beginning of the worksheet and two or three more difficult ones at the end.
Plan an additional activity for students who finish early. Otherwise, they might become bored and disrupt the class. Planning for students at various levels is also included in planning within the British Council's planning guidance.
Production: Fluency Practice (20 minutes)
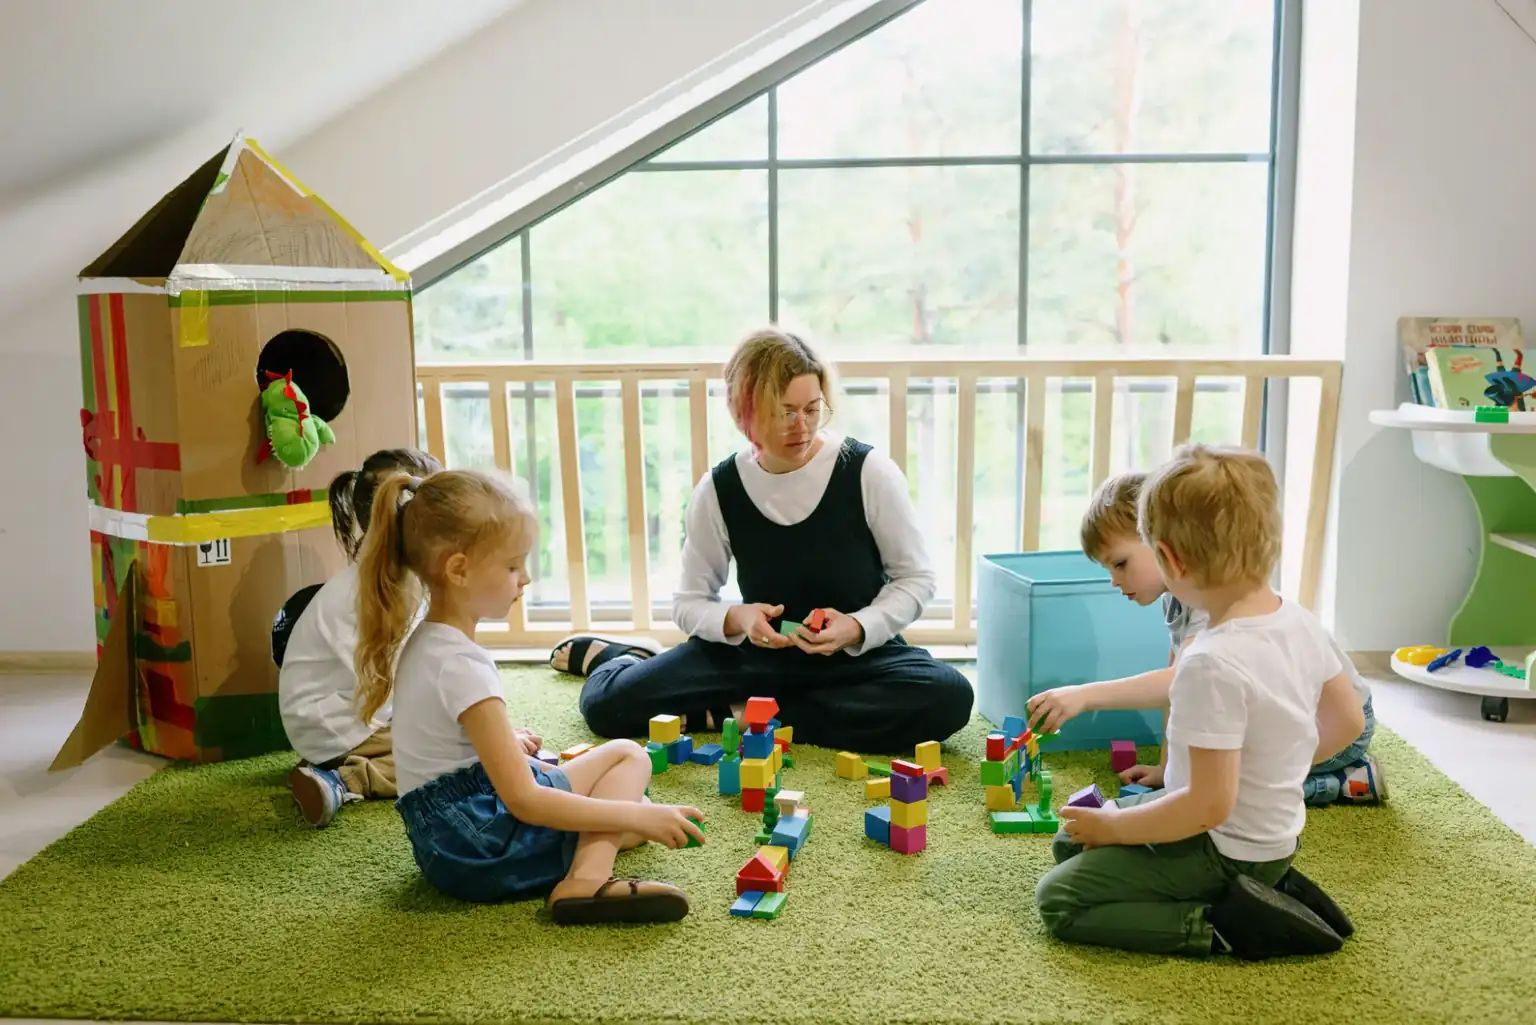
Students are now allowed to use the language more independently. They use it to express their own ideas in their own way. The primary emphasis is on fluency. At this stage, the focus is on communicating without difficulty.
Three simple production activities:
-
Role-play: Make a restaurant in the classroom. One student will be the customer and the other will be the waiter. Ask them to repeat the process, and exchange roles again.
-
Find Someone Who...: Students have a sheet of paper and ask each other questions like "Do you like coffee?" If someone answers yes, they write the person's name on the sheet. They must talk to everyone and may use each person's name only once.
-
Group project: Students make plans in small groups for an imaginary holiday (where they will go and what they will do) and share their plans with the class.
Now it's up to you to listen to students and let them speak. One of the most difficult things for new teachers is not interrupting students when they hesitate or make mistakes while speaking. Interrupting can disrupt their flow and reduce their confidence. So how do you fix their errors?
Use delayed correction:
Keep a notebook handy and make it a habit to note serious or repeated mistakes while students are talking. No need to write anyone's name. At the end of the lesson, write the sentences on the board and ask, "What is wrong with this sentence? What would the proper version be?" Nobody is singled out or embarrassed, and the whole class can learn from the mistakes.
Wrap-up (5 Minutes)
If the class is successful, a poor conclusion can leave students feeling like the class is lacking. Many new teachers keep going until the bell rings, then leave. Students may not be familiar with the homework task and may not remember the lesson's key learning.
In these 5 minutes, do 3 things:
- Provide a brief overview. Rather than deliver a speech, ask questions: "What new thing did we learn today? Which sentence could you use to place an order for food at a restaurant?" Have students look at the structure on the board one last time.
- Acknowledge students' success. Specific praise is more effective than "good job, everyone." For instance: "Ron and Simon waited till each one of them was done speaking before responding. I liked that.”
- Assign a brief homework assignment. Select an activity that can be completed in 10-15 minutes. For example: "Write a dialogue asking for three things in a shop using 'I'd like...', which we learnt today, in a four-line dialogue.” You can also provide a short preview of the next class to hold the students' interest.
What if you have too much or too little time?
These are two of the most common issues new teachers face. The answer isn't to wait until class; make plans ahead of time.
-
Schedule 55 minutes of activities and allow 5 minutes at the end as a buffer. You won't have to rush to wrap up if anything runs long.
-
Prepare an alternative game or short quiz (Plan B) to use if an activity finishes early. It also helps to keep a short warm-up or filler that works with any topic, so you can use the extra time without any extra preparation.
-
Decide beforehand what you can leave out. In your plan, indicate which activity you can omit without going against the lesson goal.
-
Reduce the number of activities and do them well. One mistake new teachers make is trying to cover too many activities and worksheets. This can make students feel rushed and confuse the class. It's better to select a small number of linked activities.
How Much Teacher Talk? TTT vs. STT
Teacher Talking Time (TTT) refers to the time the teacher speaks, and Student Talking Time (STT) refers to the time students speak. Teachers who are nervous tend to end up talking for the entire class. This means that students have little opportunity to speak English.
There is no official international standard for this. However, many teacher-training resources suggest that teachers should talk for about 20–30 per cent of the lesson, leaving 70–80 per cent for students. Beginners may need a little more teacher talk, and it naturally rises during the Presentation stage. The goal is not to eliminate teacher talk, but to keep it short and purposeful.
Rather than providing the answer, ask questions that will help students find the answer. This is referred to as eliciting. Use pair work or small-group activities so multiple students can speak at once. Encourage another student to respond if a student asks a question.
Extra Steps for Your First Online Class
Even if your first class is online (Zoom, etc.), you'll use the same lesson stages. There will be a small amount of additional technical preparation required.
Test your technology: Test internet, camera, microphone, and screen sharing just before class.
-
A spare internet connection: Bring a mobile hotspot or another device with Internet. This can help if you lose your connection during class.
-
Store your plan online, including all links and materials. If you have to switch devices, you will not lose time.
-
Make the first class short and simple. Begin by determining students' objectives, interests, and English proficiency.
Many online English teaching websites require a demo lesson from prospective teachers before hiring them. You can do that with the same plan.
If you have no online teaching experience and you are looking for a starting point, read: 10 Platforms Where You Can Start Teaching English Online With No Experience.
Is PPP the only way?
No. PPP is clear and follows a sequence, suitable for a first class. The British Council's explanation includes some criticism of the approach, but it is still widely used. However, it is primarily teacher-centred.
Other lesson models will also be helpful as you develop as a teacher:
PPP: Teacher introduces the new language first. It is suitable for novice teachers and students.
-
Test-Teach-Test: Begin with an activity to identify where students are having difficulty, and teach only what they need. It is suitable for students who have some knowledge of English.
-
Task-Based Learning (TBL): Provide a task first and then discuss the language. This works well with intermediate or advanced students and in lessons designed for fluency.
-
ESA (Engage-Study-Activate): Captivate students' interest, teach the language, and let students use it independently.
To read a detailed description of how Test-Teach-Test works, including examples, check out this article: 10 Interactive Techniques to Teach English Grammar
We suggest using the PPP approach first, then experimenting with the other approaches in later classes.
Four Common Mistakes New Teachers Make
- Making all the corrections on the spot. Don't interrupt students during the Production stage. Record the errors and discuss them afterwards.
- Entering class without an agenda. You might find yourself stuck halfway through the lesson if you think, "I'll figure it out as I go.” A handwritten one-page outline can help you avoid getting lost in the thought, "What should I do next?”
- Using only the textbook or playing the same game over and over. Include an additional activity beyond the textbook, or the class may be dull.
- Giving complicated instructions. Keep sentences short, speak at a slow pace, and use ICQs to check understanding.
To get a more detailed list of mistakes, read: 10 Common Mistakes that New TEFL Teachers Should Avoid.
Final Thoughts
You don't have to have a perfect lesson plan on the first one. Have a clear objective, a simple structure of the 6 stages, and a couple of fallbacks in case of a failure. At the end of class, reflect: What was the longest-running activity? What was the most fun for the students? Did you have any unclear directions? Make a couple of notes next to your plan. They will make you feel better prepared for the next class.
Lesson planning is only a component of teaching well. Having confidence in the classroom also means knowing how to manage a class and how to measure students' progress. UNI-Prep Institute's TESOL and TEFL courses teach these skills in a step-by-step manner, and there is no prerequisite teaching experience required. Looking to get started? Take the 120-hour TESOL & TEFL Certificate course.