 by UNI-Prep Institute · Updated September. 22, 2026
Every ESL classroom has a few students who understand English and can write it well, but who freeze the moment they have to open their mouths and speak. Out of fear of making a mistake, worry about being embarrassed in front of classmates, or simple natural shyness, the student stays silent, and their speaking skill falls behind.

Pushing these students to speak directly only makes the hesitation worse. So the effective solution is to build a structure where speaking happens indirectly, or where the student corrects their own mistake and says it again. In today's article we'll discuss 10 effective ESL speaking activities that famous teachers around the world have applied in their own classrooms and succeeded with. They have hugely helped shy students speak English fluently. Let's find out what they are….
1. Think-Pair-Share
Think-Pair-Share (TPS) is a classroom cooperative learning technique, first introduced by Frank Lyman in 1981. It is extremely effective for shy students, because it frees them from the mental pressure of suddenly speaking in front of everyone with no time to think.
Think-Pair-Share has 3 main steps:
Step 1 (THINK): thinking alone and taking notes (1–3 minutes)
Step 2 (PAIR): discussing in pairs with a classmate (2–5 minutes)
Step 3 (SHARE): sharing ideas with the whole class (5–10 minutes)
1. Think (Individual Phase)
Raise a specific question or problem in the class. Students will think about the answer completely on their own. They cannot talk to any classmate. Time: 1 to 3 minutes. Introverted or shy students are usually afraid of giving an instant answer. This step gives them enough time to organize their thoughts and recall the English words they need. If the teacher wants, they can allow students to jot their answer down briefly in their notebooks.
2. Pair (Collaborative Phase)
Students will pair up with the classmate sitting right next to them. They will share with each other whatever they thought or wrote in the first step. They will discuss each other's ideas and try to combine the two ideas into one best answer. Time: 2 to 5 minutes.
There is a world of difference between speaking in front of 30–40 students and speaking to just 1 friend. During pair discussion, shy students can easily get past their broken English or hesitation and express what's on their mind.
3. Share (Whole-Class Phase)
Now the teacher will draw the whole class's attention and ask the pairs to give a summary of their discussion. One person from each pair will say their answer to the whole class.
There is an excellent trick for reducing pressure on shy students at this step. The teacher can tell the shy student, "Explain to us a little about what your partner said." Even when they're afraid their own idea might be wrong, shy students feel much more confident while sharing someone else's idea.
Some effective tips to make Think-Pair-Share successful
Choose easy and interesting questions: The question should not be a simple "yes" or "no" one (for example: Do you like English?). The question has to be open-ended (for example: If you could travel anywhere in the world, where would you go and why?).
Use a timer: Set a fixed time for each step and keep a timer running on the board. This way students don't waste time idly and focus on the discussion quickly.
The teacher's role in forming pairs: Sometimes when two shy students end up paired together, neither wants to speak. So pairing a lively student with a shy student gives good results.
Give them the chance to write: Encourage shy students to write their answer in at least 2–3 sentences in their notebooks during the first step. With it written in front of them, they can easily speak from that paper during the pair discussion.
2. Whisper Reading and Partner Reading
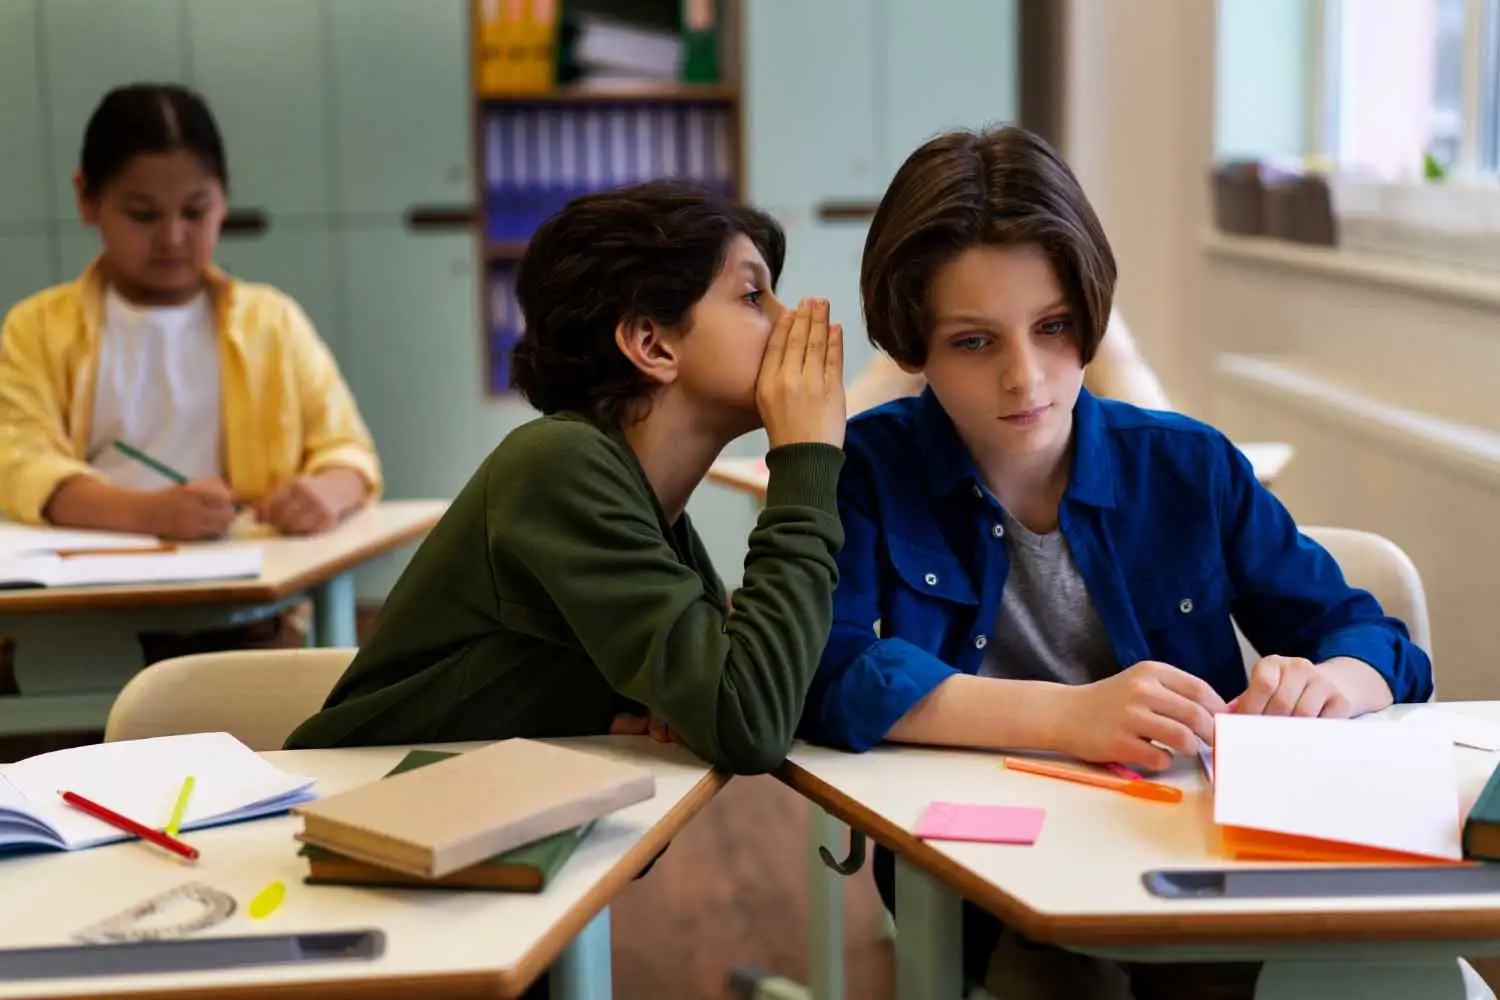
Whisper Reading and Partner Reading are two excellent, low-pressure techniques for building students' reading skill, pronunciation and confidence. These methods work wonderfully for shy or weak students, because here there's no fear of making a mistake out loud in front of the whole class.
1. Whisper Reading
Whisper Reading is a method where each student reads the text at their own pace, but in a very soft, whispering voice.
The teacher will assign a specific text or passage to the whole class. All the students will start reading together, but nobody will read silently in their head and nobody will read loudly either. They will read at a volume so low that only they themselves can hear their own voice. The teacher will walk along the aisles between the benches and observe the students' pronunciation and reading pace. If a student gets stuck, the teacher will help them discreetly.
2. Partner Reading
Partner Reading is a cooperative learning technique where two students pair up, read a text aloud to each other and help each other out.
The teacher will pair a good or mid-level student with a shy or weak student. They can read in various ways. For example, Partner 'A' reads the first paragraph while Partner 'B' listens. Then Partner 'B' reads the second paragraph while 'A' listens. Both can also read together at the same pace in a soft voice. While one is reading, the other acts as a 'coach'. If a word comes out wrong, the partner gently corrects them. After the reading, they ask each other easy questions about the text.
3. Role Play (Using Masks or Puppets)
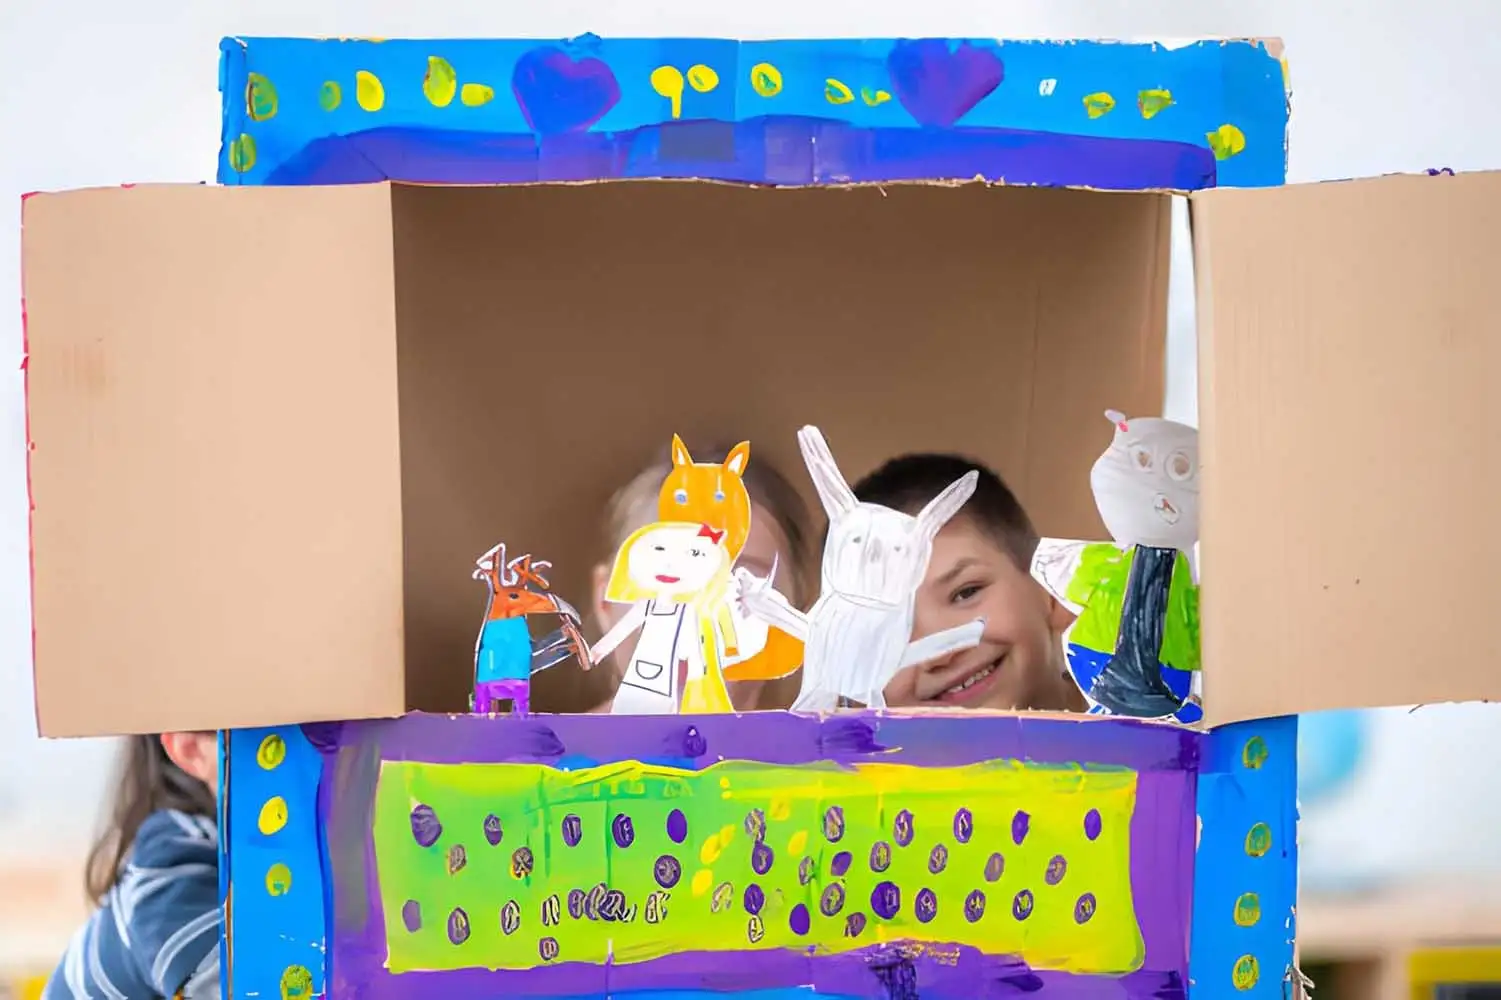
Role-play using a Mask or a Puppet is a magical technique for getting shy students to talk. When a shy child holds a mask in front of their face or puts a puppet on their hand, they hide themselves away. They feel that it isn't them speaking the broken English; it's that puppet or character speaking. This removes all of their inner hesitation and fear of embarrassment.
1. Mask Role-Play
The teacher can ask students to make some simple masks out of paper or paper plates. This can be a fun art class too. Alternatively, the teacher can bring some printed masks to class. Divide the students into pairs. For example, one wears the 'doctor' mask and the other the 'patient' mask. Give them a short and easy 2–3 line dialogue. The students will hold the mask in front of their face and say the dialogue. If they want, they can hold the mask and speak while seated at their bench, and there's no need to come to the front of the class.
Behind the mask, the student's real identity and embarrassment stay hidden. They then transform into an entirely different character, so their confidence multiplies.
2. Puppet Role-Play
Students use Finger Puppets, Sock Puppets or Stick Puppets to have English conversations with classmates or the teacher.
The teacher's table or a large carton box can be used as a puppet theatre. The students will stay hidden behind the stage, and only the puppet in their hand will be visible. Give them very simple situations. For example: two puppets getting to know each other (Greeting).
Puppet A: "Hello! What's your name?" Puppet B: "Hi! My name is Bunny. I like carrots!"
The shy student will hide under the table or behind the curtain, raise their hand and speak through the puppet. The rest of the class will be looking at the puppet, not at the student. As a result, everyone's direct gaze shifts off the student and onto the puppet. Freed from the pressure of that gaze, shy students can start speaking very fluently.
Some special tips for teachers
Don't correct mistakes: During role-play, if shy students make grammar mistakes, never stop them midway or correct them. It can bring their hesitation right back. Note the mistakes down and explain them generally to everyone at the end of the class.
Changing the voice: Encourage students to change their voice to match the character (for example: a heavy voice for a tiger, a thin voice for a cat). This makes the game more fun and reduces the pressure of language learning.
Easy puppets from socks: To keep costs down, you can ask students to bring an old sock from home. Draw two eyes on the sock with two buttons or a marker and you have an excellent 'sock puppet'.

4. Recorded Speaking
Recorded Speaking is a modern and highly scientific method for getting shy or introverted students to talk. In this method, instead of speaking directly in front of the whole class, students record their English speech or answers as audio or video on a smartphone, laptop or voice recorder and submit it to the teacher. In Education Technology (EdTech) and ESL teaching, this method is a powerful tool for shy students.
Implementation Steps
Give students a specific topic or question (for example: "Tell me about your favorite childhood memory" or "Describe your dream job"). Without rushing, students will prepare their answer at home or in a quiet corner of the classroom. If they want, they can write down the main points in their notebooks.
Students will record their speech using any audio recording app or video platform. They will submit the recorded file directly to the teacher by email, WhatsApp or Google Classroom. No other student in the class will be able to see or hear it.
Why is this magical for shy students?
The biggest fear shy students have is: "Everyone is looking at me, and if I make a mistake everyone will laugh." While recording, this social pressure or Stage Fright is completely absent. When speaking directly in class, there's no chance to fix a mistake. But with a recording, if a word comes out wrong, the student can delete it and re-record. This process of doing re-takes gives them wonderful language practice at a subconscious level.
Many students can't answer quickly. With the recording method, they get the chance to speak at their own pace, taking their time and fixing their grammar. When the teacher listens to a student's recording with headphones and gives them feedback privately, shy students accept the mistakes easily. If their mistakes were pointed out in front of everyone, they would have withdrawn even further.
Some important guidelines for teachers
Video vs audio: At the very early stage, don't force shy students to make videos. Let them do voice recordings only. As their confidence grows, move them towards video gradually.
Check the school's policy. Many schools have their own rules about collecting audio/video from students. Different countries also have separate laws about children's data (for example, FERPA / COPPA in the United States, GDPR in Europe). Get approval from the administration before starting this in class.
Set a time limit: Keep recordings within 1 to 2 minutes. If they have to record something very long, students can get nervous, and it will also be hard for the teacher to listen to everyone's recording.
Emphasize pronunciation and fluency: When giving feedback, praise how fluently and clearly the student spoke first, rather than focusing on small grammar mistakes.

5. Two Truths and a Lie
Two Truths and a Lie is an excellent and extremely popular icebreaker game. It works wonderfully to break shy students' hesitation about speaking English, because there's no grammar-related fear here and students get to tell their own personal stories.
The main rules of the game
Each student will think of 3 sentences about themselves, or write them in their notebook. Of the 3 sentences, 2 will be completely true and 1 will be completely false. One student will read out the 3 sentences in front of the class or to the friends in their group. The other students will discuss and try to guess which sentence is the lie. The speaker will tell them whether their guess was right and which sentence was actually the lie.
How to run it in the classroom
At the very beginning, the teacher will write 3 sentences about themselves on the board. For example: 1. I know 3 languages, 2. I have never been on a plane, 3. I have a pet cat, and so on. Ask the students to find the lie. This way they will easily understand the rules of the game. If you ask shy students to speak all of a sudden, they get scared. So give them 2–3 minutes to write their sentences in their notebooks.
Instead of doing it in front of the whole class, first make small groups of 4–5 students. In a small group, shy students find the courage to speak easily. Rather than guessing straight away, the other students can ask the speaker 1 or 2 questions to catch the lie (for example: "What's your cat's name?"). It's quite fun to see whether the speaker gets caught while making up an answer.
Some helpful 'clues or themes' for shy students
Shy students often can't think of what to write. To help them, you can write the themes below on the board. For example: I can cook well / I don't know how to swim. I don't like eating sweets / My favorite color is blue, and so on.
6. Sentence Starters and Scaffolding
Sentence Starters and Scaffolding are the two most effective techniques in an ESL classroom for getting shy students to start speaking.
As a teacher, to successfully apply sentence starters and scaffolding in class, you have to follow a specific structure or lesson plan. In educational terms this is called the "I Do, We Do, You Do" model. That is, first the teacher demonstrates, then everyone does it together, and finally the students do it on their own.
The 4 steps for applying scaffolding and sentence starters in class
Let's say today's speaking topic is: "My Favorite Season". Here's how you would run this topic in class:
Step 1: I Do (Modeling, where the teacher demonstrates)
Instead of asking students to speak straight away, the teacher first gives an example using sentence starters. Write 3 sentence starters on the board in large letters.
My absolute favorite season is... because...
During this season, the weather is usually...
One thing I love to do in this season is...
Now use them yourself to talk about yourself: "Look at the board everyone. My absolute favorite season is Winter because I love cold weather." This gives shy students a clear idea of exactly what they have to do.
Step 2: We Do (Guided Practice, where the whole class practises together)
Now, to break the whole class's hesitation, help everyone speak up together (Choral Drill). Read out half of each sentence starter from the board loudly yourself, and ask the whole class to complete the rest out loud together.
Teacher: "My absolute favorite season is..." Whole class (together): "...Summer / Winter / Spring!"
Since everyone is shouting it out together, the shy student has no fear of making a mistake alone. Their mouth and its muscles start getting used to English.
Step 3: You Do (Peer Support, with practice in pairs or small groups)
Before speaking in front of the whole class, let shy students talk with their bench partner. This is exactly what scaffolding is. Tell the students, "You have 1 minute now. Use the 3 sentence starters on the board and talk to the friend next to you."
Students will sit in pairs, look at the board, and complete the sentences for each other while reading the sentence starters. During this time the teacher will walk around the class gently encouraging the shy students.
Step 4: Independent Production (Final speaking)
Now comes the real test, but thanks to the scaffolding, the task is now much easier for the students. Now ask any student to complete and say any 1 or 2 sentences, either standing up or from their seat.
Since the shy student can see the sentence starters on the board, has heard the teacher's example, and has already practised once with the friend next to them, they will be able to say the sentence in English in front of the whole class without any fear or hesitation.
3 pro-tips for teachers
Use an Anchor Chart: Instead of writing the sentence starters on the board every day, write them on a large sheet of art paper or a poster and hang it permanently on the classroom wall. That way students can look at the wall and take help from it in any speaking or writing class.
Remove the scaffolding gradually (Fading): At the beginning of the year, write out the whole opening part of the sentence. When students become somewhat skilled, write only the first word. Eventually they will be able to speak without any clue at all.
Add a vocabulary bank: Along with the sentence starters, write some helper words on the board. For example: next to the names of the seasons, write words like Rainy, Foggy, Hot, Delicious fruits, Flowers, and then shy students will have excellent words available to complete their sentences.
7. Popcorning
Popcorning, or popcorn reading, is an excellent and dynamic method of practising reading and speaking in the classroom. Just as popcorn kernels suddenly pop up here and there while being fried, in this method students suddenly start reading or speaking from any corner of the class.
The main rules of the game
The teacher will start by reading the first 1–2 sentences of a text or story. After finishing, the teacher will suddenly call out any one student's name (for example: "Popcorn to James !"). James will read the next 1–2 sentences. After finishing, he will again call out any other person's name in the class (for example: "Popcorn to Olivia !"). The process continues this way through the whole class.
Why is popcorning so effective for shy students?
Shy students get scared just thinking about reading a whole page. But with popcorning you only have to read 1 or 2 sentences, which reduces their mental pressure completely. Since nobody knows whose turn is coming next, everyone in the class (even the shy and inattentive students) follows the text very attentively. The lively or strong students don't get all the speaking time to themselves. Through the teacher or their classmates, shy students get the chance to participate equally.
Some essential tips for teachers (Teacher's Guide)
If a shy student gets too scared after hearing their own name, don't force them. Just give them the chance to "popcorn" the next classmate's name. Before starting the game, make it clear that one person can read a maximum of 2 sentences. This way no single student gets the chance to read the whole text alone. While reading, if shy students mispronounce something, don't stop them and correct them on the spot. It breaks their confidence. Give feedback to the whole class after the reading is over.
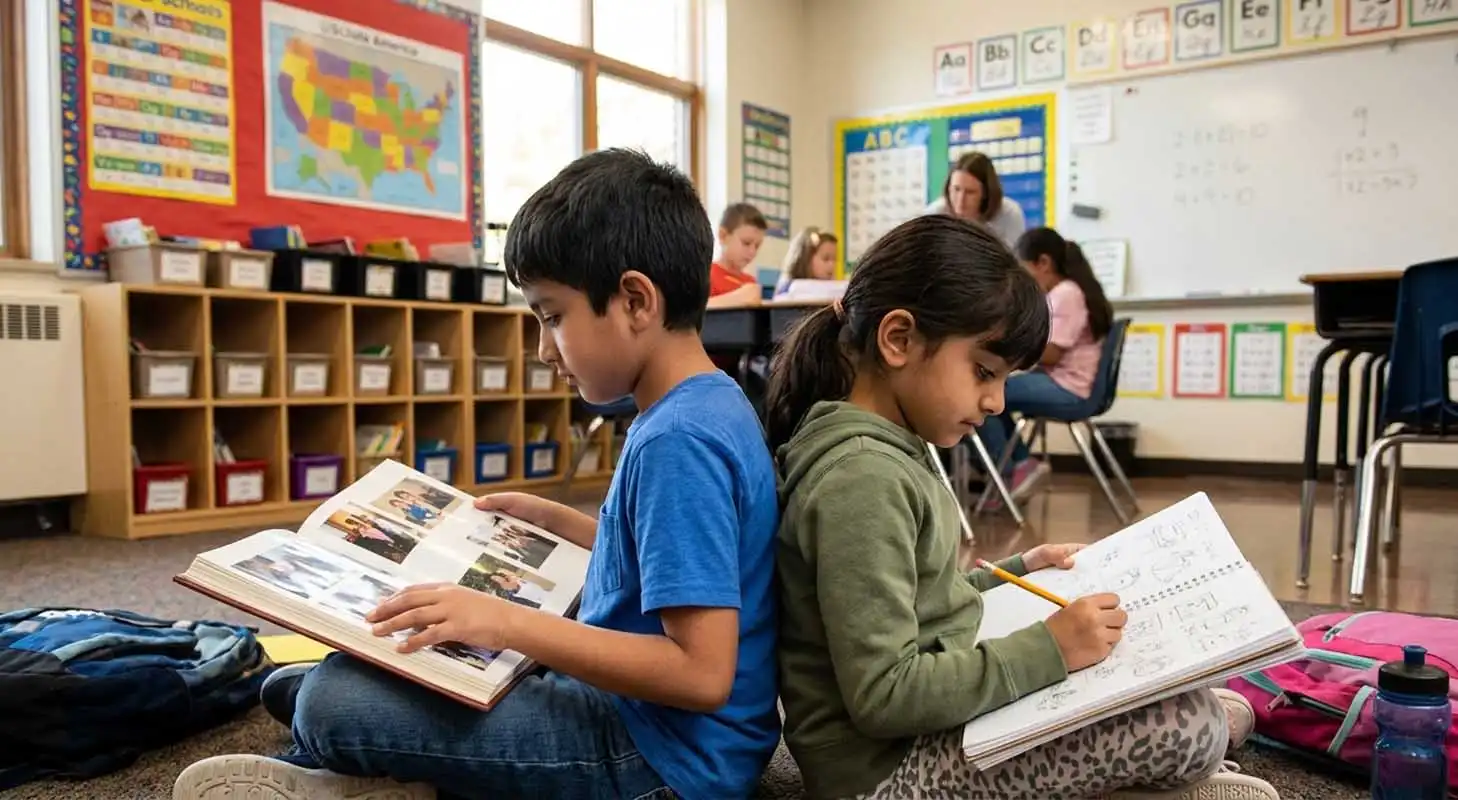
8. Back-to-Back Drawing
Back-to-Back Drawing is an extremely effective and entertaining communication activity. In this method two students sit back-to-back, where one describes a picture and the other, without seeing it, tries to draw the picture just from the description. It's a magical method for breaking shy students' hesitation about speaking English, because there's no eye contact involved, which removes their mental pressure and fear.
The main rules of the game
Divide the class into pairs. The two students in a pair will sit back-to-back so that neither can see the other's notebook or picture. One is given the role of 'Director/Speaker' and the other the role of 'Artist/Listener'.
The describer will get a simple picture from the teacher (for example: a geometric shape, a house, or some scene). The artist will have only a blank sheet of paper and a pencil. The describer will look at the picture and give instructions in English (for example: "Draw a big circle in the middle of the page"). The artist will draw it, either without asking questions or with questions (depending on the rule). After the set time is up (for example: 5 minutes), they will turn around and compare the drawing with the original picture. Students usually have a lot of fun seeing the differences between the two pictures.
Why is this so effective for shy students?
Shy students usually feel the most embarrassed speaking English while looking into someone else's eyes. Sitting back-to-back removes that fear entirely. Without exchanging information, drawing the picture isn't possible. So the artist's need to draw forces the describer to speak. The students' whole attention stays on drawing the picture and on the instructions, not on their own fear or embarrassment.
Two popular variations of the game
-
One-Way Communication (harder): The artist cannot speak or ask questions. They will only listen silently and draw. This builds students' attentive listening skills.
-
Two-Way Communication (easier and effective): The artist can ask the describer questions (for example: "Is the triangle big or small?", "Where should I draw the star?"). This variation is the best for shy students, because both of them get a chance to speak.
Some essential tips for teachers (Teacher's Guide)
Don't give a very difficult picture at the start. First give an easy picture of a house, a sun or clouds made out of circles, triangles or squares. After the first round, make the describer the artist and the artist the describer, so both get an equal chance at speaking and listening. Before starting the game, write the English names of prepositions and various shapes on the board, so that shy students can take help from there while speaking.

9. Anonymous Question Box
As an ESL teacher, using an anonymous question box in the classroom is a wonderful and modern technique for getting shy students to open up. Students who are afraid to ask questions or give opinions directly in English in front of the whole class can participate without any hesitation because their names stay hidden. Digital or physical, you can apply it in your ESL class in both ways, using the excellent methods below:
Icebreaker and Warm-up Activity
At the start of class, write a fun or controversial topic on the board (for example: "Is social media good or bad for us?"). Then tell students to write their opinion in English in one line, without their name, and drop it into the box.
You will pull out slips one by one, like drawing a lottery, and read them out loud. Then you'll start a class discussion based on the opinion on that slip. The shy student will see that nobody is laughing at their grammar mistakes or their idea. Instead, their writing is being discussed in class. This indirectly builds their confidence.
Grammar and Vocabulary Practice (Target Language Grammar)
Use it to practise whatever grammar you're teaching in class. Tell the students to drop the answer to this question into the box without their names: "If you won a lottery, what would you buy?" Take the slips out one by one and write them on the board. If there's a mistake, don't hunt for "whose mistake" it is. Instead, do speaking practice with the whole class about how the sentence can be corrected.
"Secret Teacher" or Peer Feedback
After a speaking presentation or role-play, shy students are usually afraid to criticize or praise their classmates directly in front of them. Tell them to write on a slip how they found their classmate's performance and where improvement is needed, and drop it into the box. You will read them out later.
Ask Me Anything (AMA)
After teaching a difficult chapter or reading passage, shy students feel embarrassed to say "I didn't understand." At the end of the chapter, give everyone a piece of paper. Those who understood will write "Clear", and whoever has a problem somewhere will write that topic without their name and put it in the box. Looking at the box, you'll understand which part needs to be explained to the class again.
10. Story Chain
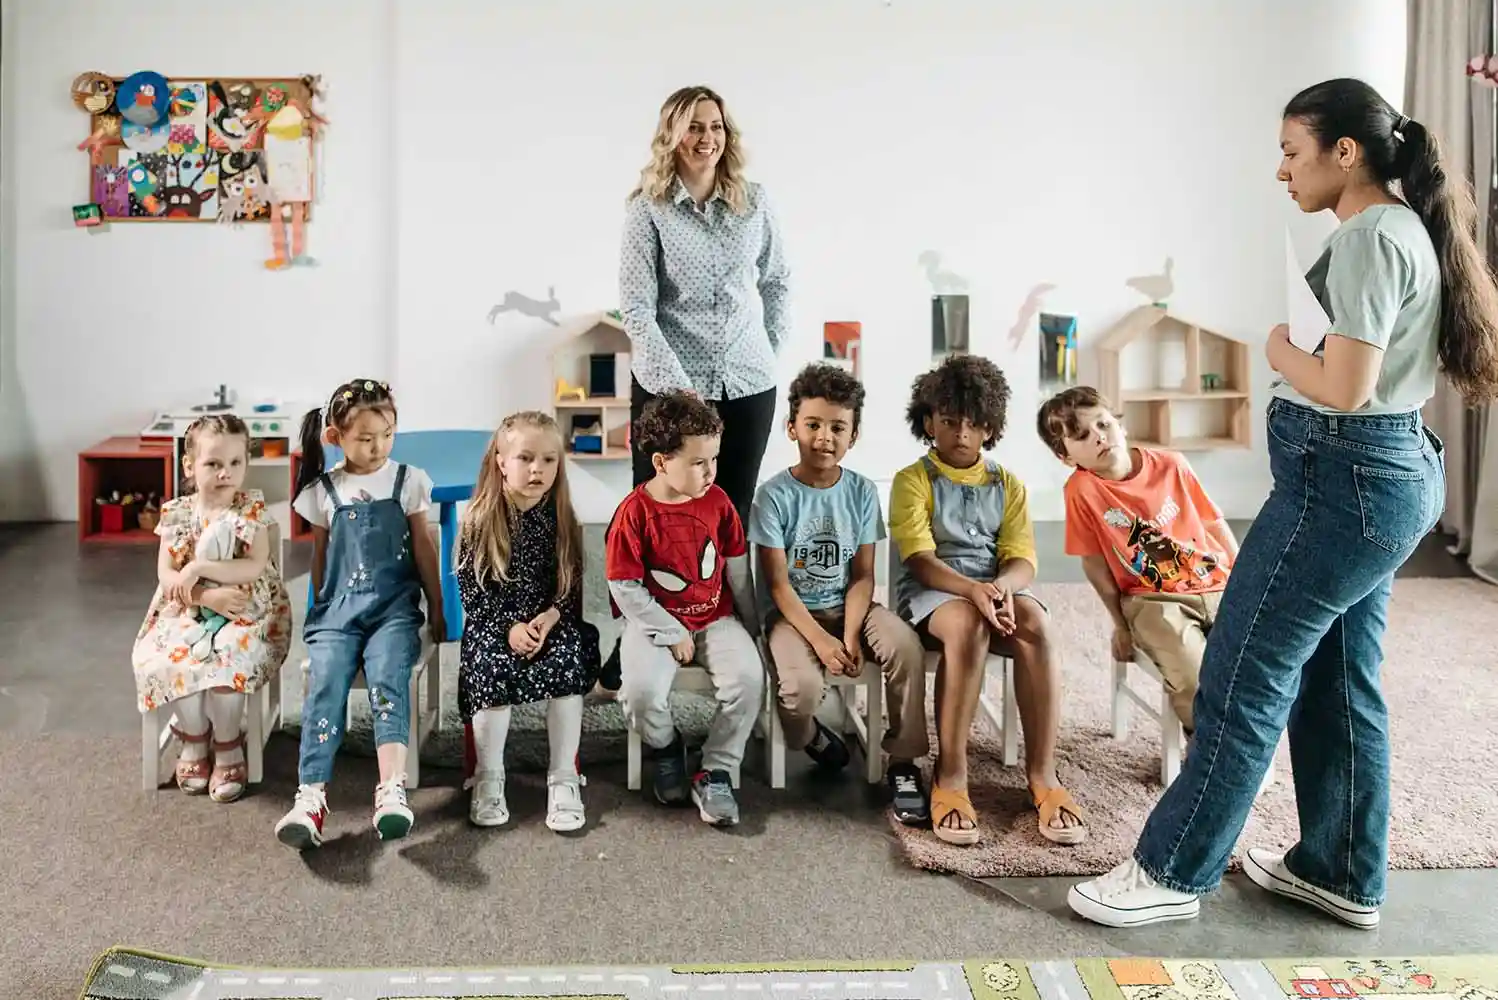
Story Chain is an extremely popular, interactive and creative language learning game. In this game students add one sentence after another and gradually build a complete story. In the ESL classroom, this activity is wonderfully effective for breaking shy students' hesitation and building the habit of speaking English on the spot.
As an ESL teacher, to apply Story Chain successfully for shy students, you have to arrange the structure of the game so that they don't feel any social or mental pressure. Shy students usually don't want to speak for fear of making a mistake in front of everyone.
Divide them into small groups
Don't force shy students to say sentences in front of 20–30 students. Divide the class into small groups of 4 to 5. In a small group, shy students feel safe. They open their mouths more easily in front of just a few classmates than in front of a big class.
Provide the first sentence and clue cards
Write out a fun opening sentence for each group. Along with it, give them 3–4 idea cards or flashcards. For example: a magic key, a mysterious door, sudden rain, and so on. Shy students often can't think of what to say in English. With visible clues or pictures in front of them, the pressure of thinking on the spot is greatly reduced.
Keep a "Pass" option
Make it a rule at the very start of the game that if someone can't find an idea for a sentence, they can say "Pass". The next student will say the sentence, and at the end of the round they'll get another chance. This rule removes the deep-seated "fear of getting stuck in front of everyone" from shy students' minds. When they're free of pressure, they usually don't pass and try to say a sentence themselves.
A chance for silent contribution (The Written-to-Spoken Method)
Instead of starting the game orally, do it in writing first. Write the first sentence on a piece of paper and give it to the first student. They will write their sentence and pass the paper to the person next to them. Once the story is finished this way, everyone in the group will read out their own sentence. For shy students, reading out a sentence written in their notebook is much easier than making one up and speaking it directly. This is the first step in breaking their hesitation.
No instant correction (Delayed Correction)
If a shy student makes a grammar mistake during the game (for example, saying He go instead of He went), don't stop them midway and correct them. Stopping them midway embarrasses shy students, and afterwards they don't want to speak at all. After the story is finished, write the correct form on the board indirectly and teach it to the whole class.
Read More:
Conclusion
Don't get overwhelmed looking at ten activities at once. Start with any one of them. Think-Pair-Share is the best option, because it needs no masks, puppets or cards at all. Just a good question and a timer is enough. Two weeks later, when you notice a buzz in the classroom during the pair stage, add Sentence Starters. Then Back-to-Back Drawing or Role-Play.
In the first few classes, maybe nothing much will happen. Most teachers don't notice a difference before four to six weeks. Be patient during this period. But keep one thing in mind. If a student doesn't progress even a little after several months, or speaks perfectly well at home but doesn't utter a single word at school, then the issue may not be shyness. Talk to the school counsellor or a speech-language specialist, and don't try to handle it yourself.
These activities are only a small part of a bigger framework. Only when classroom management, lesson planning and student assessment skills develop together can a teacher handle any class with confidence. In our TESOL course these topics are taught step by step, with real classroom examples. So to run a beautiful and successful classroom, you can enrol today in the TESOL & TEFL course from Uni-Prep Institute.